The Batch Letters window has been redesigned to make it more intuitive and it's features more easily accessible. Click Tasks > Letters and Receipts to access this screen.
In the past, generating batch letters involved marking the letters as 'Sent'. This had to be done as a separate action. The reason this was not done automatically was to allow you to first confirm that the letters printed correctly. Once letters were marked 'Sent' there was no way to isolate those letters or redo them.
CMS Version 14.3 and later changes this.
Even before the letters are generated, the transactions are first collected into a batch (based on the criteria you select) and the batch is saved.
The letters are then generated (to the Output of your choice) based on the saved batch. Subsequent tasks, such as Envelopes or Labels should be generated based on the saved batch (not dependent on any other criteria).
Because batches are saved, you have the option to automatically have the batch marked as 'Sent'. Even batches that are marked 'Sent' can easily be reprinted by simply select the batch.
Mark as Sent Options (CMS Version 15.1.5)
Based on user feedback, we have implemented an option for how the batch of letters get automatically marked as 'Sent' or whether this happens altogether. To benefit from these options, make sure you are using CMS Version 15.1.5 or later).
To access this option, click Program Setup > Options > Letters/Receipts tab. There are 4 options for the new Mark Sent feature.
- None
Choosing this option will not mark as 'Sent' at all. You won't even be reminded.
You can mark a batch as 'Sent' at any time by choosing "Mark as 'Sent'" from the Output, selecting your batch, and clicking OK.
- Remind
After generating a batch, a message will pop up and remind you not to forget to mark as 'Sent'. This option is the default.
Your batch will not be automatically marked as 'Sent'.
As with 'None', you need to manually mark the batch as 'Sent'.
- Prompt
After generating a batch, you will be promoted to mark the batch as 'Sent'. Choosing Yes will automatically mark the batch as 'Sent'.
You will not have to manually mark the batch as 'Sent' as with the first two options.
- Auto
After generating a batch, it is automatically marked as 'Sent' without a prompt.
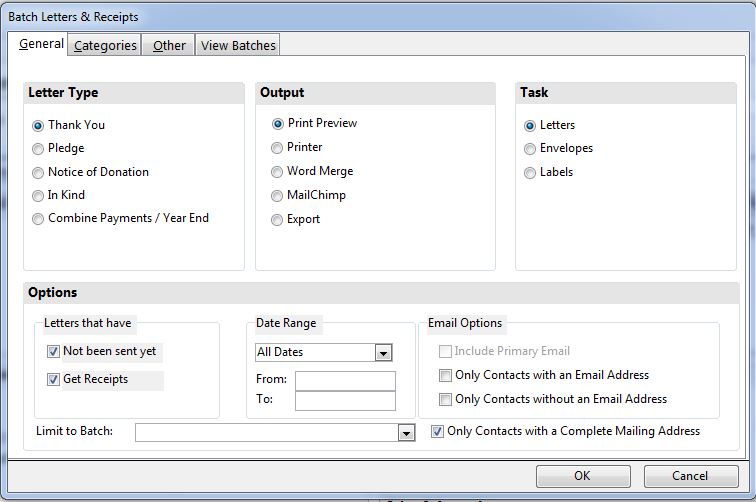
To generate letters based on a saved batch, simply select the batch from the Limit to Batch drop-down. When this is done, all other criteria (Sent, Dates, Categories, etc.) are ignored.
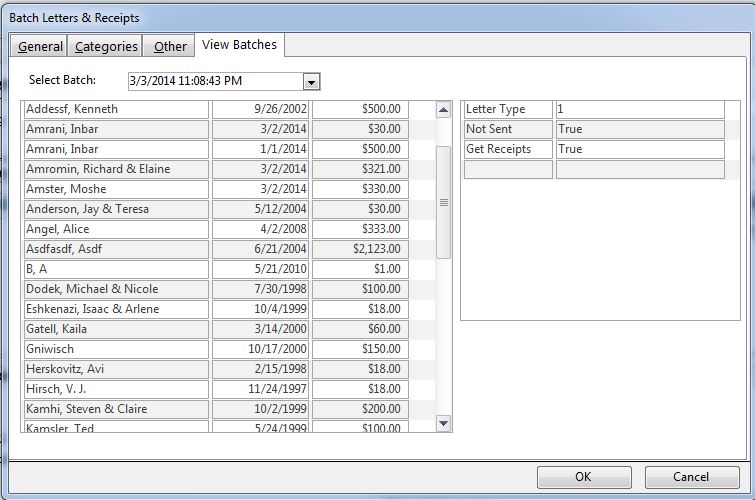
Also new is the View Batches tab where you can select a batch and see all Transactions that were part of that batch as well as a summary of the criteria used to create that batch.