(NOTE: Microsoft Word and Outlook 2003 or higher are required.)
Here is yet another option for generating personalized emails. The benefit of using Word for personalized emails is that it two points:
- You don't have to click "Yes" for each email that goes out.
- Word support HTML formatted emails.
In the Contact Report screen, choose Word Merge from the Output drop-down and choose Email as the Merge Type.
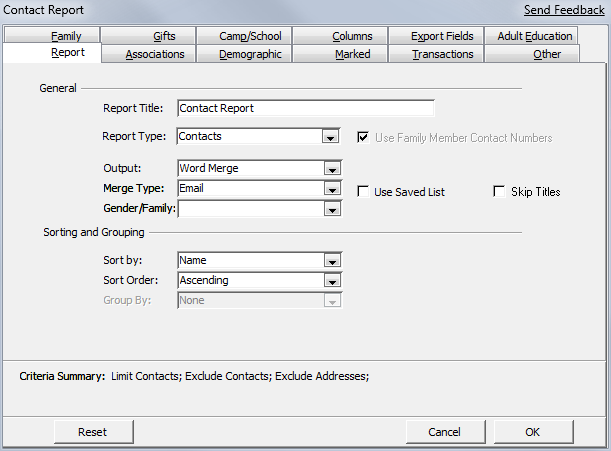
Choose criteria as needed (on the various tabs), select which email types you want to use (on the 'Columns' tab), and click OK.
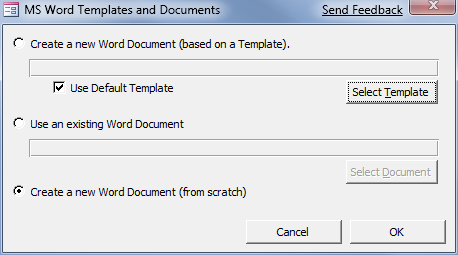
Most likely, you don't have a template created, so select the third option 'Create a new Word Document (from scratch)', and click OK.
In Word:
Everything you’ll need to know is on the Mailings menu.
By clicking on 'Mail Merge Recipients' you can view all the people that are included in this merge, you can also sort the merge and even exclude recipients from the merge.
Type up your email, include pictures and more. You might want to also add some personal information that CMS sent with this merge.
Click the 'Insert Merge Fields' button, to insert fields that CMS sent. An obvious use would be to insert the <salu> field and inserting it on top of the email as such: "Dear <Salu>,". (You can choose to include more fields in the merge (phone numbers, for example) in CMS in the Contact Reports 'Columns' and 'Export Fields' tabs
before merging - while still in CMS.)
You’ll notice that you don’t see your CMS information in the word document; rather you see the CMS fields. To toggle between the ‘live data’ and the ‘merge fields’ click on the ‘View Merged Data’ button.
Then use the navigation

to navigate through the emails.
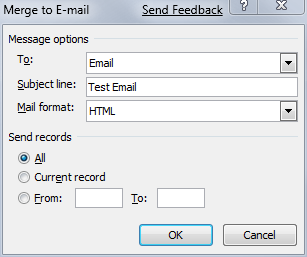
The final step in the merge would be to ‘Merge to email' by clicking Finish and Merge > Send Email Messages.
This will bring up the following window. Leave the To: Email - this will send an email of each record in the merge, to its respective email address.
Choose an Subject and format for the email and click OK.
Note: The first time you use this feature, it might be advisable to set Outlook to Work Offline (in Outlook click Send/Receipt >Work Offline). You can then browse through your outbox and see how the emails turned out without actually sending it.
Be sure to delete your test emails from the Outbox before setting Outlook to Work Online.